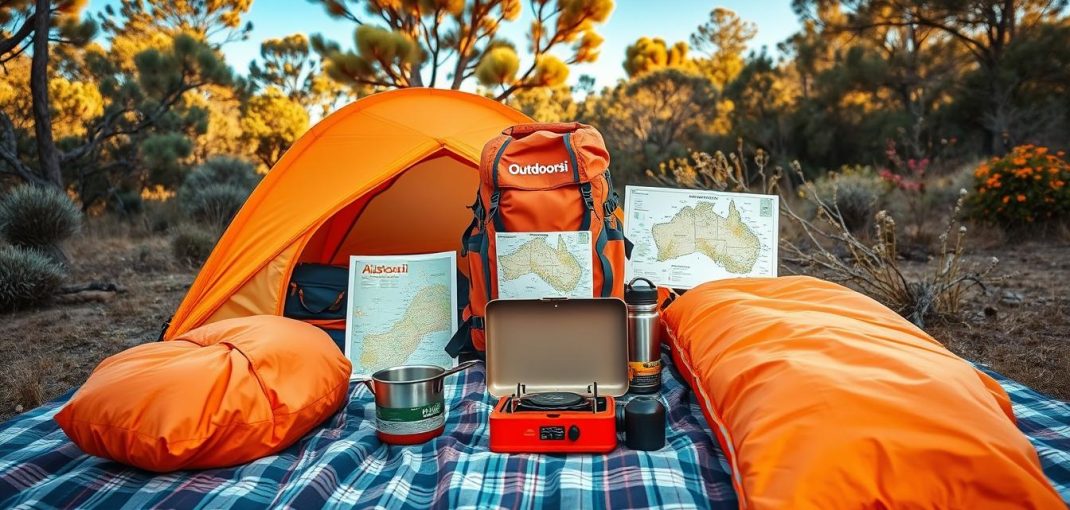
Heading into the great outdoors should feel exciting, not overwhelming. This short guide helps you pick the essentials so you can enjoy your trip and stay safe in changing weather.
Scott Keelin stresses choosing a tent with enough room to stay comfortable during bad weather. Phil Gradwell reminds you a good sleeping bag makes nights enjoyable. Adam Baker says ask if you’ll be car camping or backpacking before you buy a stove.
We cover shelter, a reliable water plan, a simple camp kitchen and a first aid kit that keeps your family safe in remote places. Dometic coolers can keep ice frozen for up to 10 days, which helps with food and drinks on longer stays.
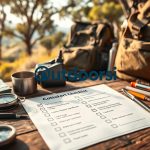
Use the BCF checklist to avoid forgetting small but vital items like toilet paper. Follow these tips and your initial setup will be affordable, practical and suited to local conditions.
Key Takeaways
- Choose a tent with enough space to handle bad weather and gear.
- Prioritise a quality sleeping bag for comfort each night.
- Decide if you are car camping or backpacking before buying a stove.
- Pack a compact first aid kit and use a checklist to avoid misses.
- Consider durable coolers like Dometic for long trips away from home.
Essential Camping Gear for Beginners: A Strategic Approach
Start your trip with a simple strategy: plan deliberately and pack smart to avoid needless stress at the campsite.
Adopt the 5P’s—Proper Planning Prevents Poor Performance—as your guiding rule. That mindset turns packing into a practical task rather than a last-minute rush.
Before you leave, work through a clear checklist. List the shelter, bedding, cooking items and basic safety supplies you need. A good checklist prevents small misses like toilet paper or spare batteries.
- Plan: match products to the Australian climate—heat, bush conditions and coastal storms demand different choices.
- Prioritise quality: buy durable items that last multiple seasons rather than cheap replacements.
- Organise: sort items into labelled packs so setup and pack-up take less time.
- Double‑check: review your checklist the night before departure to ensure a smooth start.
Keep your approach simple. Choose durable, easy-to-use things that let you focus on the outdoor experience, not equipment headaches.
Selecting the Right Shelter for Australian Conditions
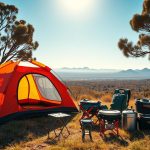
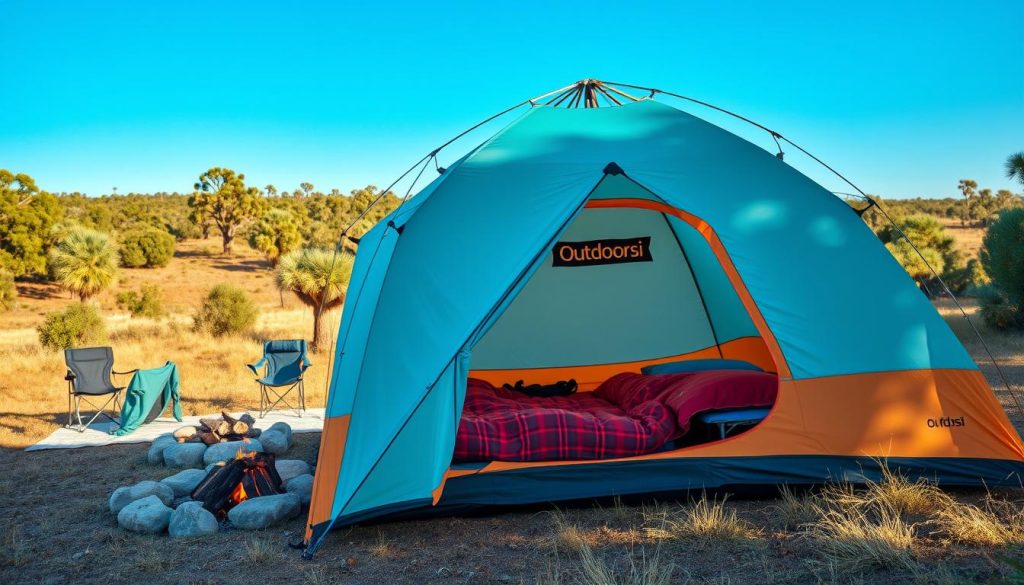
Choosing a tent means thinking about space, ventilation and weather protection. Pick a model that gives everyone enough elbow room to sit up and stretch, as Scott Keelin suggests. Three-season tents work well in most Australian conditions because they combine a rainfly with mesh panels to keep air moving in warm months.
Understanding Tent Types and Configurations
For family trips, cabin-style tents offer the best internal space. Smaller dome tents suit quick weekend getaways and save time when you set up.
Weather Protection and Site Selection
Make sure your shelter blocks rain, wind and insects common in bush areas. Check floor length and ceiling height so you can move around on a wet day.
- Choose a tent rated for strong coastal winds if you camp near the shore.
- Use a footprint or tarp to protect the floor from rocks and moisture.
- Pick flat, well-drained ground to avoid water pooling during a storm.
- Keep a checklist of extra stakes, a mallet and repair items to save time at setup.
Creating a Comfortable Sleeping System
A good night’s rest starts with the right combination of sleeping bag and insulating pad.
Choosing the Right Pad for Insulation and Comfort
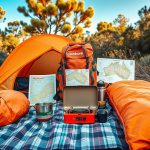
Phil Gradwell notes a quality sleeping bag is vital, but the pad stops cold from seeping up from the ground. Pick a pad that matches how you travel.
For car camping, a thicker, plush pad gives extra comfort and space. If you backpack, choose a lightweight inflatable pad to save weight and pack space.
- Warmth: match your sleeping bag rating to the coldest nights you expect; down bags list fill-power (600–900) to show warmth-to-weight.
- Shape: mummy-shaped sleeping bags reduce empty air and keep heat in on cool nights.
- Extras: use a liner for extra warmth and to keep your bag clean between trips.
- Checklist: always include your sleeping bag, pad and repair items on your packing list so you have a dry, warm place to sleep.
Finally, test your pad at home. Good cushioning supports your back on uneven ground and makes the whole trip more enjoyable.
Setting Up Your Camp Kitchen
A compact kitchen with the right stove and cooler keeps meals simple and safe. Plan a clear prep zone near water and waste bins so you can wash and store food without fuss.
Comparing Portable Stove Options
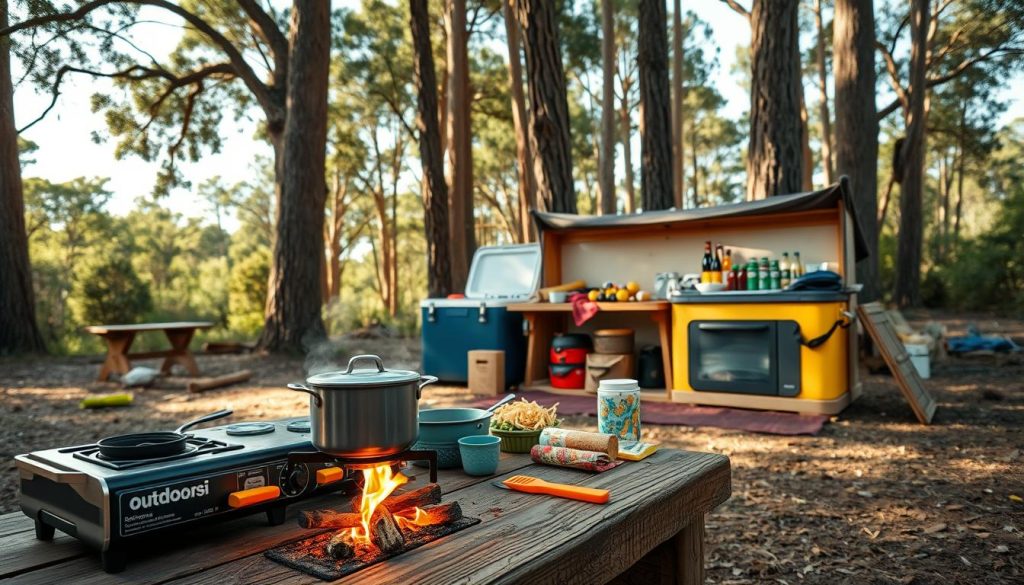
Dual-burner propane suits car trips: quick heat and space to simmer two pots. Adam Baker recommends this style when weight isn’t the main concern.
Liquid-fuel stoves perform better in cold weather and at altitude. They are pricier but reliable when temperatures drop.
Essential Cooking Utensils and Prep Tools
Pack a sharp knife, cutting board, tongs and one pot that covers boiling and frying. Use durable plates and a small wash bin with biodegradable soap.
- Sharp knife, tongs, spatula
- Cutting board and a medium saucepan
- Biodegradable soap, sponge and wash tubs
Cooler Selection for Food Safety
Choose a high-performance cooler to keep food safe in the Australian heat. Dometic coolers can keep ice frozen for up to 10 days, which is ideal on longer trips.
| Item | Best Use | Pros | Cons |
|---|---|---|---|
| Dual-burner propane stove | Car-based meals and group cooking | Fast, roomy, easy to control | Heavy; needs propane bottles |
| Liquid-fuel stove | Cold weather and remote trips | Reliable in low temps; compact | Requires maintenance; fuel handling |
| High-performance insulated cooler (Dometic) | Long trips; food safety | Keeps ice long; durable | Costly; heavy when full |
Finish with a simple checklist: stove, fuel, utensils, cooler, soap and a tidy rubbish plan. Keep cooking areas clean to avoid attracting wildlife and to meet leave-no-trace principles.
Lighting and Power Solutions for the Outdoors
Night-time visibility is one of the simplest comforts to plan for on any outdoor trip. Good lighting keeps tasks simple and reduces risk after dark.
Headlamps are the most versatile option. Choose a model that costs at least $30 to get better durability and higher lumen output. A hands-free light makes cooking at the stove, checking your tent or moving to the loo much easier.
Bring backups. Carry extra batteries for headlamps and lanterns so you never get caught without light. Keep them in an easy-to-reach pocket of your pack.
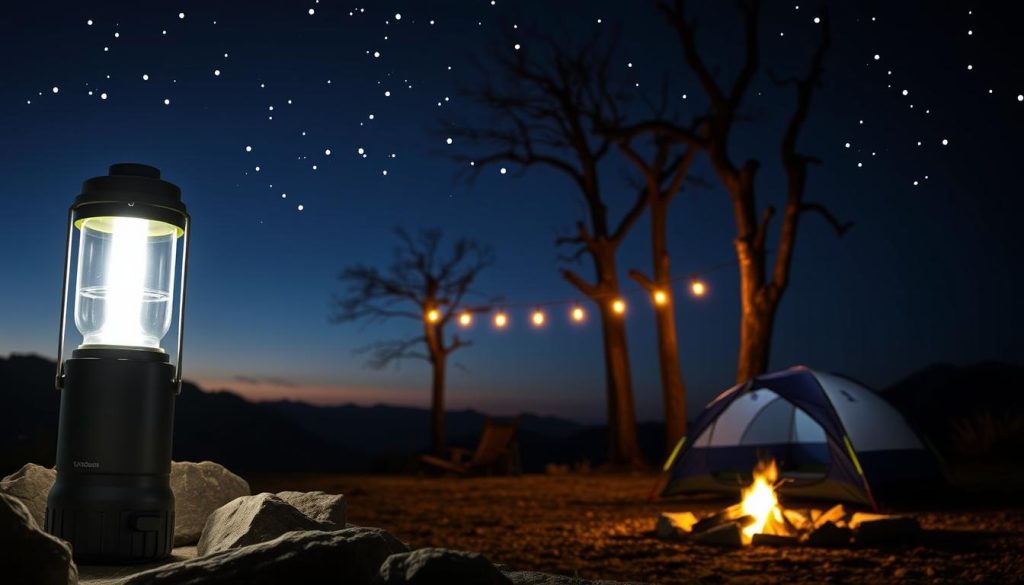
- Power banks: Pack a portable charger to keep phones and GPS running during a longer camping trip.
- Lanterns: Use a soft lantern for ambient light while you eat or read in your tent.
- Solar options: Consider small solar panels if you plan to be off-grid for extended time.
- Hydration note: Carry a system that holds 2–3 litres of water per day to stay hydrated while you explore.
| Item | Why it helps | Pros | Tip |
|---|---|---|---|
| Headlamp ($30+) | Hands-free task lighting | Bright, durable, directional | Store spare batteries in pack |
| Power bank | Keeps devices charged | Portable, essential for GPS | Choose 10,000mAh+ for longer trips |
| Lantern | Camp and tent ambient light | Comfortable, spreads light | Use rechargeable or solar models |
| Hydration reservoir | Daily water supply | Keeps 2–3L handy | Refill at reliable water sources |
Staying Safe with Essential First Aid
A compact first aid kit can turn a small mishap into a minor delay rather than a ruined trip.
Carry a comprehensive first aid kit to treat cuts, stings and blisters that happen outdoors. Pre‑assembled kits are often cost‑effective and include clear instructions for common wilderness injuries.
Essential Medical Supplies for Your Kit
Customise your kit to match the size of your group and any medical needs. Make sure to check expiry dates and replace used items before you leave.
- Blister care: moleskin, adhesive pads and antiseptic wipes.
- Wound supplies: sterile dressings, adhesive tape and bandages.
- Hygiene: hand sanitiser and antiseptic to prevent infection.
- Extras: tweezers, safety pins, sting relief and any personal medications.
| Kit Type | When to use | Pros |
|---|---|---|
| Pre‑assembled | Quick trips or first timers | Cost‑effective; includes instructions |
| Customised | Larger groups or special needs | Tailored supplies; more suitable meds |
| Compact waterproof | Day hikes and in‑pack carry | Lightweight; protects items from moisture |
Consider a basic first aid course if you travel to remote areas. Investing in quality medical products gives you confidence and keeps your group safer while you enjoy the outdoors.
Navigating Different Australian Camping Environments
Picking the right approach to each environment makes your outdoor time safer and more fun. Australia offers beaches, dense bush and long off‑grid stretches. Each place needs small but important changes to what you pack and how you set up.
Beach tips for sand and salt
On the coast, protect fabrics and metal from salt. Secure your tent well against gusts and shifting sand with longer pegs or sand anchors.
Keep food in a sealed cooler and rinse sandy items at the rinse station. Protect your sleeping bag and pad from damp salt air by storing them in dry bags.
Bush and off‑grid advice
In remote bush areas, be self‑sufficient. Carry extra water, fuel and food for the whole time you plan to stay. Research fire restrictions and local wildlife before you arrive.
- Choose a campsite with clear access to avoid getting lost.
- Pack a checklist to confirm items: water, food, stove, first aid and repair kit.
- Follow Leave No Trace to protect nature and reduce insect or animal visits.
| Environment | Key concern | Must‑have items | Quick tip |
|---|---|---|---|
| Beach | Sand & salt | Salt‑resistant pegs, dry bags, sealed cooler | Rinse gear daily; pick sheltered sites |
| Bush | Limited access | Extra water, map/GPS, sturdy tent | Camp on hard ground to avoid mud |
| Off‑grid | Self‑sufficiency | Water supply, food for duration, spare fuel | Use a checklist and tell someone your plans |
Clothing and Personal Essentials
Pack clothing that lets you respond quickly to sudden heat, wind or rain across Australian landscapes.
Layering is the key. Start with moisture-wicking base layers, add an insulating mid layer and finish with a lightweight rain jacket. This combo keeps you dry and warm without bulk.
Bring a sturdy pair of hiking boots and a softer pair of camp shoes to wear around the site. A wide-brimmed hat, high‑SPF sunscreen and polarized sunglasses protect you from strong sun on any trip.
Include personal toiletries like biodegradable soap and a quick‑dry towel. In cooler areas, pack a warm beanie and gloves. Organise clothes in dry bags to keep them clean and ready to use.
- Base layer: moisture-wicking top and socks
- Mid layer: fleece or light puffer
- Outer layer: waterproof jacket
- Footwear: hiking boots + camp shoes
- Sun kit: hat, sunscreen, sunglasses
- Hygiene: biodegradable soap, towel
- Storage: dry bags for clothes and tent accessories
| Item | Why it helps | Quick tip |
|---|---|---|
| Moisture-wicking base | Keeps sweat off skin; reduces chill | Choose synthetic or merino fibres |
| Waterproof jacket | Shields you from sudden showers | Pack a lightweight, breathable model |
| Hiking boots | Protect ankles and give traction | Break them in before your trip |
| Dry bags | Keep clothes and water‑sensitive items dry | Label bags to stay organised |
Maintenance and Storage Tips for Your Gear
Simple care and smart storage will keep your tent, sleeping bag and stove ready for many seasons.
After each trip, clean and dry everything before you pack it away. Wet items left at home invite mould and rot, which will shorten equipment life.
Use a checklist to inspect stoves, lanterns and other kit for wear, fuel leaks or broken parts. Replace or repair items now so they don’t fail at your next campsite.
- Sleeping bag: store loosely in a large mesh bag to keep loft and warmth.
- Tents and poles: dry fully, fold loosely and keep stakes in a dedicated bag so small parts are never lost.
- First aid kit: check expiry dates and restock supplies after every trip.
- Cooler: wash with mild soap and water to remove food residue and smells.
Organise space at home where your equipment stays clean, dry and away from direct sun. A dedicated shelf or storage box keeps items ready and speeds packing time.
| Task | Frequency | Quick tip |
|---|---|---|
| Dry & air tents | After every trip | Set up at home to dry if weather stopped you at the site |
| Inspect stove & lanterns | After every trip | Run a quick burn test and check seals before storing |
| Store sleeping bag loosely | When not in use | Avoid tight compression sacks for long-term storage |
| Clean cooler & utensils | After each use | Use mild soap, then air dry to prevent odour |
Taking time to care for your equipment is a smart investment. Small routines now mean reliable shelter, warm nights and tasty meals on every trip.
Conclusion
Small routines before and after a trip keep your equipment reliable and your outings simple. Regular checks and tidy storage save time and stress when you next head out.
Use the checklist in this guide as a base list. Tailor it to your needs, then pack with confidence so every camping trip is safer and more relaxed.
Mastering the basics gives you the freedom to enjoy each adventure and fully embrace the Australian nature around you.
Start small, learn on the way, and keep your list handy. Soon you will be ready to take on longer, more remote trips with ease.