You’re planning your next trip across the bush or along a coastal track and want practical advice that saves time and energy. After completing a first 240 km walk in 2019, I learned that reducing your total weight is the single best move to keep hikes enjoyable rather than grueling.
This ultimate guide helps you pick durable yet portable kit for varied Australian terrain. You’ll find tips on choosing an ultralight shelter and a reliable backpack, plus how to refine your gear list so every item earns its place.
Whether you’re planning weekend trips or long-distance backpacking, the right setup keeps you safe and comfortable. Modern materials mean ultralight options no longer trade away comfort. Follow these practical pointers to trim unnecessary bulk and enjoy more time exploring Australia’s stunning landscapes.
Key Takeaways
- Cutting pack weight makes hiking more enjoyable and safer.
- Pick durable, ultralight items that suit bush and beach conditions.
- Choose a reliable backpack and test your setup before you leave.
- Refine your list so every item has a clear purpose.
- Modern materials let you balance comfort and portability.
- Plan according to trip length — weekend versus long-distance backpacking.
Understanding the Philosophy of Lightweight Camping Gear
When you trim what you carry, the trail becomes less of a struggle and more of a journey. The core idea is simple: reduce your pack weight so you move easier and enjoy more of the walk.
- Carrying less weight lowers strain on your body. You can hike longer and recover faster at day’s end.
- Many experienced walkers prefer ultralight setups because they let you move freely through scrub, sand and rocky tracks.
- It isn’t about losing comfort. Thoughtful choices mean your kit still offers shelter, warmth and rest.
- When you evaluate each piece of gear, you find a balance that makes walking feel like walking — not hauling.
- Refining your list boosts confidence and prepares you for Australia’s changeable conditions.
Adopt this mindset and you’ll focus on the trail, the views and the experience — not the load on your back.
Defining Your Base Weight for Australian Trails
Start by weighing everything you plan to carry to see how your baseline load stacks up. Base weight is the total mass of your kit excluding consumables — that means no water, food or fuel in this number.
Calculating your base weight
Place each item on a scale and note the weight. Add up shelter, sleep system, clothing, pack and other non-consumables. That sum is your base weight.
A target base weight under 10 kg suits many Australian hikers who want comfort and efficiency. Ultralight backpacking enthusiasts may aim for 5–6 kg, but that often costs more in specialised kit.
The importance of multi-use items
Choose items that serve two or more purposes. A sit pad that doubles as a back panel, or a pot that acts as a bowl, cuts bulk and saves space.
- Reduce redundancy: remove items you never use to lower strain on long days.
- Plan for days: food and water change weight daily, so keep your base system light.
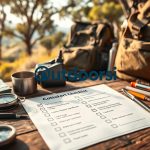
- Use a packing list: it prevents over-packing and keeps you focused.
| Base Weight Target | Typical Items Included | Who it suits | Notes |
|---|---|---|---|
| Under 5–6 kg | Ultralight shelter, quilt, minimal clothing, light pack | Experienced ultralight backpacking hikers | Requires investment in specialised items |
| 6–10 kg | Balanced shelter, sleeping system, multitools, mid-range pack | Most Australian hikers | Good balance of comfort and efficiency |
| Over 10 kg | Heavier tent, full cook system, extra clothing | Beginners or those wanting comfort | Higher fatigue and injury risk on rugged trail |
Selecting the Right Shelter for Your Adventure
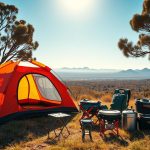
A good shelter balances protection, weight and ease of setup for Australian conditions. Think about the ground you’ll camp on, likely wind and rain, and how much room you want inside the tent.
Freestanding tents suit rocky or hard ground where staking is difficult. They stand on their poles and often allow quick pitching without trekking poles. Models like the Big Agnes Copper Spur UL2 handle wind and rain well, and the Nemo Firefly 2P is popular with taller hikers thanks to a robust floor that removes the need for a footprint.
Non-freestanding options and when to choose them
Non-freestanding shelters are usually lighter and pack smaller. If you prioritise ultralight backpacking and expect soft ground for stakes, these shelters reduce pack weight and bulk.
- Terrain: choose freestanding for rocky soil, non-freestanding for soft, sheltered sites.
- Weather: a quality rainfly is essential to stay dry during sudden storms in the bush.
- Comfort: the Big Agnes Tiger Wall UL3 gives extra interior space without a big weight penalty.
- Simplicity: pick a system that sets up quickly after a long day to preserve energy.
- Ventilation: ensure good airflow to avoid condensation on your sleeping kit.
| Type | Best for | Pros | Cons |
|---|---|---|---|
| Freestanding | Rocky ground, quick pitches, variable weather | Stable without stakes, easier setup, good in wind and rain | Generally heavier, larger packed volume |
| Non-freestanding | Soft ground, ultralight backpacking, minimal pack weight | Lower weight, compact, often cheaper | Needs secure staking, can be tricky on hard ground |
| Hybrid (freestanding with removable poles) | Mixed terrain, variable trips | Versatile, balance of comfort and low weight | Can be pricier, slightly more complex |
Optimising Your Sleeping System for Comfort
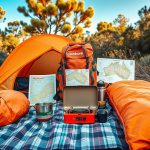
A proper sleeping system turns a cold, restless night into morning energy and clear thinking. Focus on three parts: the pad, the bag and a small pillow.
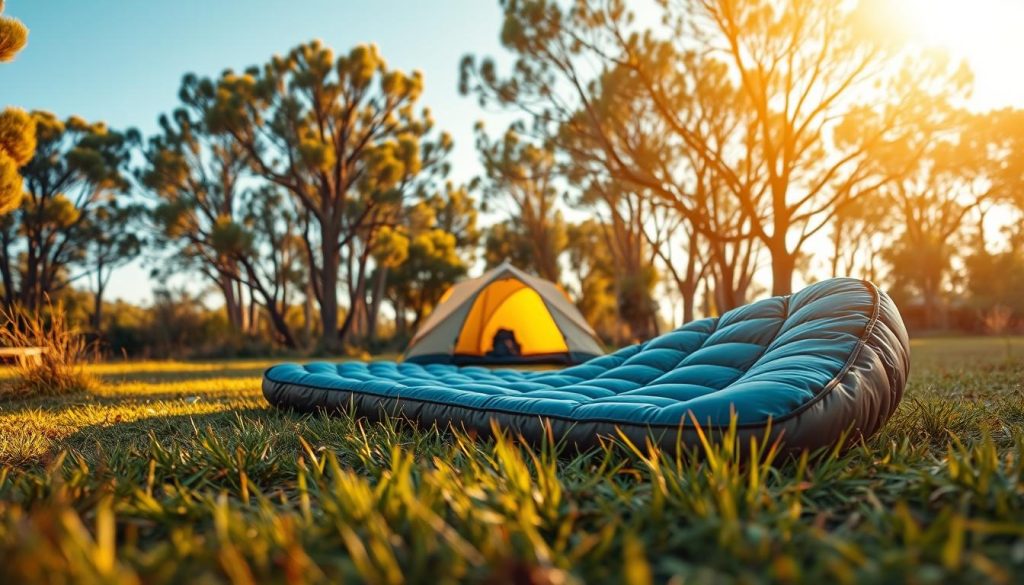
A good pad insulates and supports. The Sea to Summit Ultra Light pad weighs around 500g and uses air spring cells for excellent comfort. The NEMO Tensor Trail Ultralight Insulated pad is a strong choice if you sleep on your side and need more cushion.
Your sleeping bag must match expected temperatures. The Deuter Astro Pro 400 is a highly elastic down sleeping bag that lets you move while staying warm near 0°C. Many hikers prefer down for its warmth-to-weight ratio.
- Choose a pad that balances insulation and packed size.
- Pick a sleeping bag rated to the coldest night you expect.
- Use an ultralight pillow like the Sea to Summit Aeros Premium to boost sleep quality without much weight.
| Item | Best for | Packed size | Key benefit |
|---|---|---|---|
| Sea to Summit Ultra Light pad | All-round | Compact | Comfort from air spring cells |
| NEMO Tensor Trail pad | Side sleepers | Small | Extra cushioning |
| Deuter Astro Pro 400 bag | Near 0°C nights | Compressible | Elastic down for movement |
Invest in a reliable sleeping system so you wake refreshed and ready to carry your pack on the next day of backpacking.
Choosing a Backpack That Fits Your Needs
Invest time in finding a pack that fits you well — it changes how you experience multi-day hikes.
Selecting the right backpack matters because it carries all your kit and shapes how the weight sits on your body.
A 50‑litre pack often hits the sweet spot for multi-day trips. It gives room for a shelter, sleeping system and extras without encouraging overpacking.
Look for an adjustable back length so the load transfers to your hips. The Gossamer Gear Gorilla 50L is a popular ultralight option with a removable back pad for breaks.
- The Osprey Eja and Exos series balance suspension, ventilation and support for longer walks.
- Use a waterproof liner to protect clothing and sleeping gear in heavy rain.
- Carry an ultralight daypack like the Sea to Summit Ultra‑Sil for short side trips.
| Feature | Why it matters | Tip |
|---|---|---|
| Adjustable back | Distributes weight evenly | Fit with full load |
| Suspension | Reduces strain on hips and shoulders | Test on a walk before a long trip |
| Volume (50L) | Good for multi‑day backpacking | A smaller pack forces prioritising essentials |
Essential Cooking Equipment for the Trail
A simple, reliable cook setup turns cold rations into hot meals with minimal fuss. Choose items that save fuel, reduce pack bulk and make meal times quick on the trail.
Stove types for efficiency
Canister stoves like the Soto WindMaster perform well in wind and fit inside many pots. They heat water fast and suit most Australian conditions.
The Jetboil Flash is a fast all-in-one system if you favour speed and simplicity. Always carry a backup lighter; ignitors can fail in cold or damp weather.
Choosing the right pot system
A titanium pot such as the TOAKS 750 ml cuts weight and doubles as a mug. The GSI Outdoors Minimalist Set adds a cozy to keep food warm—handy for slow meals after a long day.
- Store stove and fuel inside the pot to save space in your pack.
- Plan high‑calorie dehydrated food to save fuel and water.
- Practice your cooking routine at home for faster, safer meals on the trail.
| Item | Best for | Key benefit |
|---|---|---|
| Soto WindMaster | Windy conditions | Stable burn, fits most pots |
| Jetboil Flash | Quick boiling | Fast water boil, simple system |
| TOAKS 750 ml | Minimalists | Durable, doubles as mug |
Navigating with Precision and Safety
Good navigation keeps you safe and confident on remote Australian tracks.
Always carry reliable navigation tools — a map and compass remain essential even if you use a GPS device. Learn basic map reading before you leave so you can find your position quickly on the trail.
Consider a satellite messenger such as the Garmin InReach Messenger Plus. It lets you send texts and share your location off-grid, which is invaluable when mobile coverage fails.
- Use Leki trekking poles for steep ascents and descents; they reduce strain on knees and add stability on loose ground.
- Pack a compact first aid kit with bandages and antiseptic to handle common injuries on multi‑day trips.
- Carry enough water and a reliable purifier or tablets; staying hydrated is non-negotiable in the Australian bush.
- Familiarise yourself with all devices at home — you don’t want to learn them in an emergency.
- Share your trip plan with a trusted contact before you go to give others a safety net.
| Item | Why it matters | Tip |
|---|---|---|
| Map & compass | Fail-safe navigation | Practice bearings and pacing |
| Garmin InReach Messenger Plus | Two-way messaging off-grid | Test messages and SOS function |
| Leki trekking poles | Reduce joint impact | Adjust length for steep climbs |
Keep your pack light where you can, but don’t sacrifice critical safety kit. With the right preparation, your ultralight choices will still leave space for tools that protect you on the trail.
Power and Lighting Solutions for Off-Grid Trips
Power choices can make or break an off-grid trip — plan them before you leave the trailhead.
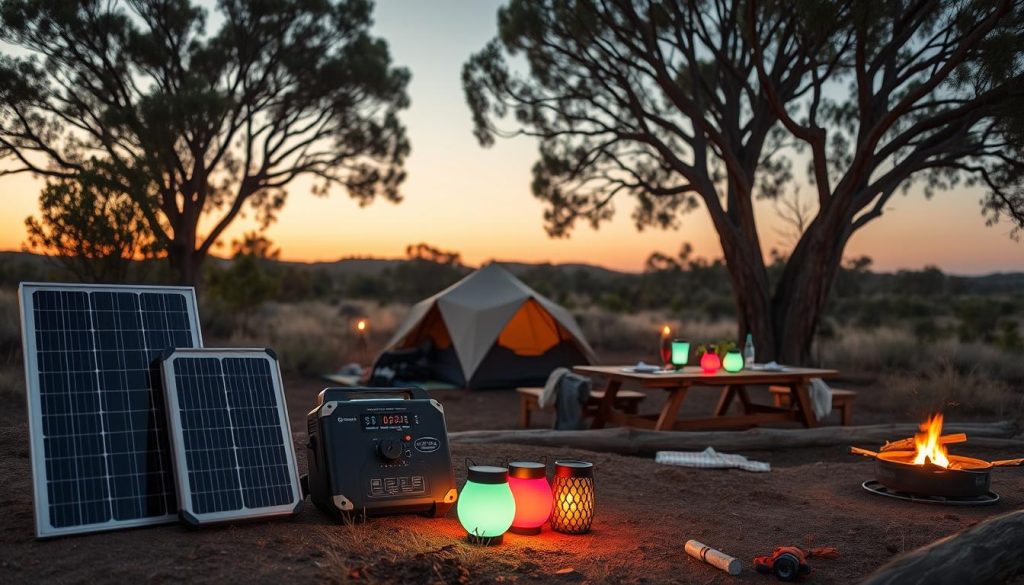
Manage battery life by setting devices to power-saving modes and switching them off when not needed. Consider how many days you’ll be away and pack enough capacity to cover navigation, emergency comms and occasional photos.
The Nitecore NU25 400 Lumen headlamp is an excellent, ultralight rechargeable option for hiking after dark or working at camp. A reliable lamp reduces the need for multiple torches and saves overall weight in your pack.
- A high-capacity power bank keeps phones and GPS devices charged during long, off-grid trips in the Australian bush.
- Cold drains batteries faster — keep your power bank and phone close to your body or inside your sleeping bag at night.
- Solar chargers are useful on extended trips but depend on direct sun; treat them as a supplement, not the sole source.
- Always test your lighting and power setup at home so cables and batteries work when you need them.
| Item | When to use | Key tip |
|---|---|---|
| High-capacity power bank | Multi‑day trips | Choose one with USB‑C and enough mAh for your devices |
| Nitecore NU25 headlamp | Night hiking & camp tasks | Rechargeable, bright, keeps pack weight low |
| Foldable solar panel | Very long trips | Pack extra cables and aim for midday charging |
Clothing Choices for Variable Australian Weather
Australia’s weather can turn from sun to squall in a few hours, so your clothing must adapt fast.
Layering is the core strategy. Start with a wicking base, add an insulating mid-layer and finish with a waterproof shell you trust.
- Carry a down insulated jacket such as the Patagonia Fitz Roy Down Jacket for cold evenings — it adds warmth without heavy weight.
- Bring a fully waterproof, ultralight shell like the Rab Phantom Jacket to stop wind and rain during sudden storms.
- Use an ultralight fleece (for example Mountain Hardwear AirMesh) for extra warmth at camp.
- Choose a UPF sun shirt and avoid cotton; pick merino or synthetic fabrics that wick sweat and dry quickly.
Keep your sleeping bag and clean sleep clothes in a dry sack inside your pack so they stay dry from water and mud. Always check the forecast, but pack to adjust on the trail. These simple choices cut weight, protect you from rain and sun, and make backpacking more comfortable.
| Item | When to use | Key benefit |
|---|---|---|
| Patagonia Fitz Roy Down Jacket | Cold nights | High warmth-to-weight |
| Rab Phantom Jacket | Wet weather | Fully waterproof, ultralight |
| Merino base layer | All-day wear | Wicks moisture, resists odour |
Footwear Considerations for Long-Distance Hikes
Feet are your foundation: the shoes you pick shape every kilometre you walk.
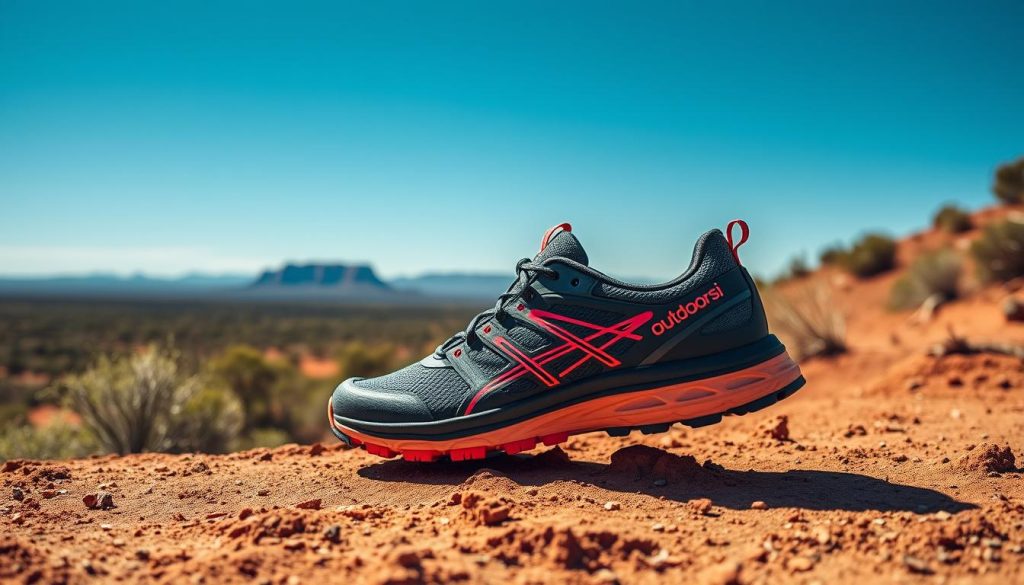
Trail runners versus traditional boots: many modern hikers favour trail running shoes because they are lighter, more breathable and dry much faster after stream crossings. Lighter footwear lowers the extra energy your body expends; studies show weight on your feet costs 4.7–6.4 times more energy than the same weight on your back.
The benefit of a wide toe box: models like the Altra Lone Peak offer a wide toe box and zero‑drop platform. This lets your toes splay naturally and reduces hot spots on long hikes. That improves comfort and helps prevent blisters over consecutive days.
- If you carry a very heavy pack, you may prefer a supportive boot such as the Danner Inquire for extra ankle protection.
- Break in new running shoes on short day walks before committing to multi‑day backpacking trips.
- Quality socks (for example, Darn Tough) matter as much as your shoes for blister prevention.
| Option | Best for | Key benefit |
|---|---|---|
| Trail running shoes | Fast hiking, wet terrain | Lower weight, faster drying |
| Hiking boots | Heavy packs, rough terrain | More ankle support |
| Wide toe models (Altra) | Long miles, foot health | Natural toe splay, fewer blisters |
Managing Food Storage and Hydration
Smart food storage and a reliable filtration system are essential for safe, stress-free hiking.
Keep your food organised in lightweight reusable bags so you can grab meals without emptying your pack. Use clear packs for breakfast, lunch and dinner to track portions and reduce waste on multi‑day trips.
The BearVault BV450 is a solid choice where wildlife rules require bear‑proof containers. It secures your supplies and keeps animals away from your camp.
For water, the Katadyn BeFree is a popular, ultralight filter that fills bottles fast from streams. If you need virus protection—such as overseas or in questionable sources—the Grayl is heavier but removes viruses and bacteria effectively.
- Always carry more water than you expect: Aussie heat and dry sections can make natural sources unreliable.
- Organise meals: Peak Refuel backpacking meals give high protein and quick prep after long days.
- Keep the system simple: store food in one accessible place and use a small pot for boiling or rehydrating where needed.
| Item | Best use | Key benefit |
|---|---|---|
| Katadyn BeFree | On‑trail stream filling | Fast, ultralight filtration |
| Grayl | Travel or high‑risk sources | Virus and bacteria removal |
| BearVault BV450 | Wildlife-prone areas | Secure, required in some parks |
Photography Gear for Capturing Your Journey
Good photos make the memory of a long walk last — and they need a setup that suits your rhythm on the trail.
Choose kit that balances image quality and the extra weight you’ll carry. The Sony RX100 VII is a standout compact for backpacking, offering near‑professional results in a pocketable body.
Keep your camera accessible. I use a Sea to Summit pouch clipped to my hip belt so the camera stays protected and ready while you move.
- Pick a compact mirrorless or high‑end pocket camera to reduce what you put in your pack.
- Use a versatile zoom lens to avoid swapping multiple lenses and exposing the sensor to dust.
- A light protective bag or pouch lets you reach the camera fast without digging through your backpack.
- Skip a heavy tripod — stabilise on a rock or stump for landscapes and self‑portraits when you can.
- Decide how much time you want to spend on photos versus walking, then tailor your setup to that goal.
| Item | Best for | Key benefit |
|---|---|---|
| Sony RX100 VII | Backpacking and day hikes | Pro quality in a small bag |
| Sea to Summit pouch | On‑the‑move protection | Quick access on hip belt |
| Versatile zoom | All‑round shooting | Fewer lenses, less weight |
Hygiene and First Aid Essentials
Keeping clean and prepared on the trail protects both you and the places you love. Good hygiene lowers the chance of infection and keeps water sources healthy for others.
Wash yourself and dishes at least 200 feet from streams or lakes. Use a small amount of biodegradable soap such as Dr. Bronner’s and scatter wastewater in a dispersed spot or in a cat hole.
Practical hygiene items
Carry a Kula Cloth as an eco-friendly pee cloth. It’s reusable and antimicrobial, and it reduces the need to pack out paper.
Keep toothbrush, toothpaste and wipes in a small dedicated bag so your kit stays organised and dry.
First aid and repairs
- First aid: include Leukotape, assorted bandages and antiseptic cream for common trail injuries.
- Tools: a lightweight trowel for cat holes and Tenacious Tape for quick tent or bag repairs.
- Extras: a compact repair and hygiene bag saves time on multi‑day trips.
| Item | Why | Tip |
|---|---|---|
| Kula Cloth | Reduces waste, hygienic | Rinse and dry between uses |
| Light trowel | Proper waste management | Dig 200mm deep, 200 ft from water |
| Tenacious Tape | Fixes torn tent or bag | Carry small patch pieces |
Adapting Your Kit for Different Australian Environments
Your setup should change depending on whether you’re on sand, in dense bush or parked at a caravan site. Match shelter, clothing and water plans to the place you’ll sleep and move.
Beach strategies
On the coast, choose a tent or tarp with excellent ventilation and a low profile to resist salt spray. Sand gets into zips and seams, so keep sleeping bags and clothing in a sealed bag each day.
Bring extra sun protection and plan water carrying carefully — fresh water is limited on many beaches.
Bush and forest considerations
In the bush, durability matters. Pick a tent and tarpaulin that shrug off branches and abrasion.
Keep a clean dry bag for your sleeping system and pad to avoid damp and critter issues on multi‑day trips.
Caravan and family setups
When you have a vehicle, favour comfort: larger chairs, a roomier tent and extra cooking kit are fine. You can accept a little extra weight for more comfort and social space.
Pro tip: brands like Alton offer tarps and hammocks built for tough conditions, and orders over 100 AUD ship free in Australia — handy when you upgrade your kit for the next trip.
| Environment | Focus | Key item |
|---|---|---|
| Beach | Ventilation & salt protection | Tarp/tent with vents |
| Bush | Durability & dryness | Robust tent, dry bag |
| Caravan/Family | Comfort & convenience | Larger tent, camp chairs |
Testing Your Setup Before Heading Out
Try your full system on a one‑night trip so you spot problems before a big hike. This is the simplest way to check fit, function and comfort.
Pitch your tent in the backyard or a local park to confirm all poles, pegs and guys are present. Practice a wet pitch in a controlled space so you know how it fares in rain.
Wear your fully loaded pack and walk a few kilometres. Check how the weight sits on your hips and shoulders. Adjust straps until the load feels balanced.
Run a quick cook and water routine at home. Ignite your stove, boil water and use your filter so you are confident with fuel, flame and cleanup.
Take a short practice hike with trekking poles to find the right length and rhythm. Test clothing layers on a cool morning to ensure warmth and breathability.
- Fix or replace anything that fails the test.
- Repeat tests on a day trip before committing to longer trips.
| Test | What to check | Why it matters |
|---|---|---|
| Tent pitch | Poles, pegs, seam covers | Prevents surprises in rain or wind |
| Loaded pack walk | Weight distribution, strap fit | Reduces fatigue and hotspots |
| Stove & filter | Ignition, flow rate, boil time | Ensures reliable meals and safe water |
| Trekking poles | Length, locking, wrist straps | Improves balance on steep trail |
Conclusion
Good preparation turns uncertainty into reliable routines. Test your kit at home, refine what you carry, and practice your cooking and navigation until they feel familiar. This makes each day on the track simpler and safer.
Pay attention to sleeping systems so you wake refreshed. Small changes to fit and layout boost comfort and reduce fuss on trips. Start with what you own and upgrade as you learn what truly matters for your style of walking.
With a well‑planned setup you’ll feel at home in the bush. Take these tips, trust your judgement, and get out there — your next great Australian adventure is waiting.